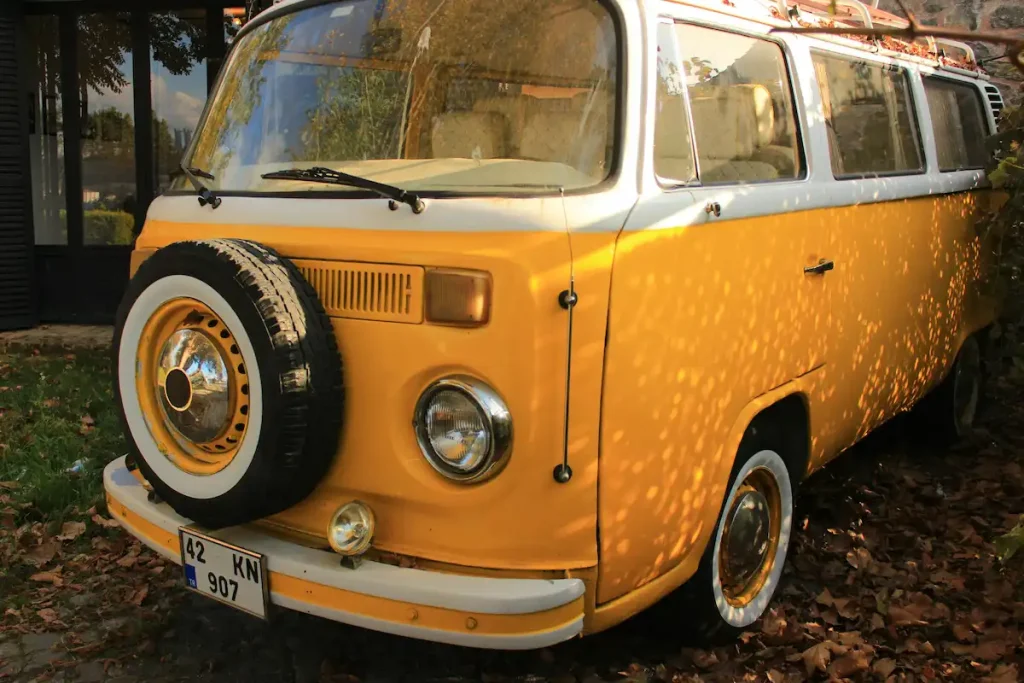
Restoring a vintage camper isn’t just a project — it’s a journey into the past, a creative outlet, and a deeply satisfying accomplishment. Whether you’ve stumbled upon a rusted gem in a field or inherited a family trailer full of memories, restoring a vintage camper is entirely possible with passion, patience, and a little guidance.
Let’s walk through the main steps of this rewarding DIY adventure.

Why Restore a Vintage Camper?
There’s something magical about restored vintage campers — their nostalgic curves, retro interiors, and unique charm. Unlike mass-produced modern RVs, a vintage camper has character. It tells a story.
Many DIYers start with little to no experience. And yet, countless examples of beautifully restored vintage RV campers prove that you don’t need to be a professional builder to succeed. All you need is vision, dedication, and a willingness to learn.
Step 1: Assess the Condition (and Your Commitment)
Before you dream of retro curtains and wood paneling, start with a realistic inspection:
- Check for water damage: floors, ceiling, corners
- Inspect the frame: rust, cracks, structural issues
- Look at the wiring and plumbing
- Test the roof and window seals
- Evaluate the layout: what can stay, what needs to go?
Take lots of pictures — they’ll help track progress and make great before-and-after comparisons (hello, pictures of restored vintage campers).
Tip: Create a spreadsheet of repairs and estimated costs — this helps you stay grounded and adjust expectations to your budget.
Step 2: Demolition Day (Demo Without Drama)
This part is thrilling — and messy. Carefully remove:
- Cabinets, paneling, old flooring
- Moldy insulation
- Damaged furniture
- Non-functioning appliances
Take notes and label what you remove. You might reuse some original parts during the vintage camper restore process.
Step 3: Structural Repairs & Systems
Now comes the serious work:
- Frame repair or reinforcement
- New subfloor installation
- Plumbing and electrical upgrades (especially if it’s older than 1975)
- Windows and seals replacement
If you’re on a tighter budget, prioritize safety and essential systems first — things like electrical, propane, brakes, and insulation.
Step 4: Interior Design & Finishing Touches
This is where creativity shines:
- Rebuild cabinets or buy ready-to-assemble units
- Install new flooring (vinyl, laminate, or even painted plywood)
- Choose color palettes: retro tones, soft pastels, or wood finishes
- Add soft lighting, curtains, cushions, and decor
Pro tip: Keep weight in mind when choosing materials. Lightweight, durable options work best.
Step 5: Personal Touches & Functional Additions
A camper should reflect your personality and serve your needs. Think:
- Solar panels for off-grid use
- Foldable tables and hidden storage
- A modern fridge that looks vintage
- Swappable wall art or pegboards
These details take your restoring a vintage camper project from “rehab” to “dream tiny home on wheels.”

Lessons from Other DIYers
You’ll find no shortage of inspiring pictures of restored vintage campers online. What many have in common:
- They started small and kept learning
- They reused what they could (budget-friendly and eco-conscious)
- They embraced imperfection — a scratch here, a dent there — that’s character
- They documented the process and shared it to inspire others
Final Thoughts
If you’ve ever looked at a forgotten trailer and thought, “Maybe I could do that…” — this is your sign. Whether you’re dreaming of weekend escapes or a full-time life on the road, how to restore vintage camper is not a question of “if,” but “when.”
Roll up your sleeves. That little piece of rolling history is waiting.